
Mastering Midjourney v6 vs v7: Key Differences and How to Use Them
With the release of Midjourney v7, AI artists now have access to a more intelligent, responsive, and nuanced image generation engine. But how exactly does it compare to v6, and how can you make the most of each version? This tutorial breaks down the major differences, new features, and best practices to help you level up your AI art—whether you’re a concept artist, digital illustrator, or experimental creator.
🔄 Quick Overview: Version Comparison
| Feature | Midjourney v6 | Midjourney v7 |
|---|---|---|
| Prompt Responsiveness | Strong literal interpretation | Enhanced contextual understanding |
| Image Quality | Crisp, high contrast | Softer tones, more natural realism |
| Stylization | Controlled via --style
|
More subtle, native to prompt language |
| Anatomy & Faces | Improved, but stylized | More photorealistic and balanced |
| Remix & Variations | Stable, useful for stylized art | More granular re-rendering options |
| Raw Mode |
--style raw required |
Built-in, acts more naturally |
| Fine-Tuning | Manual via prompt | Smarter default balance |
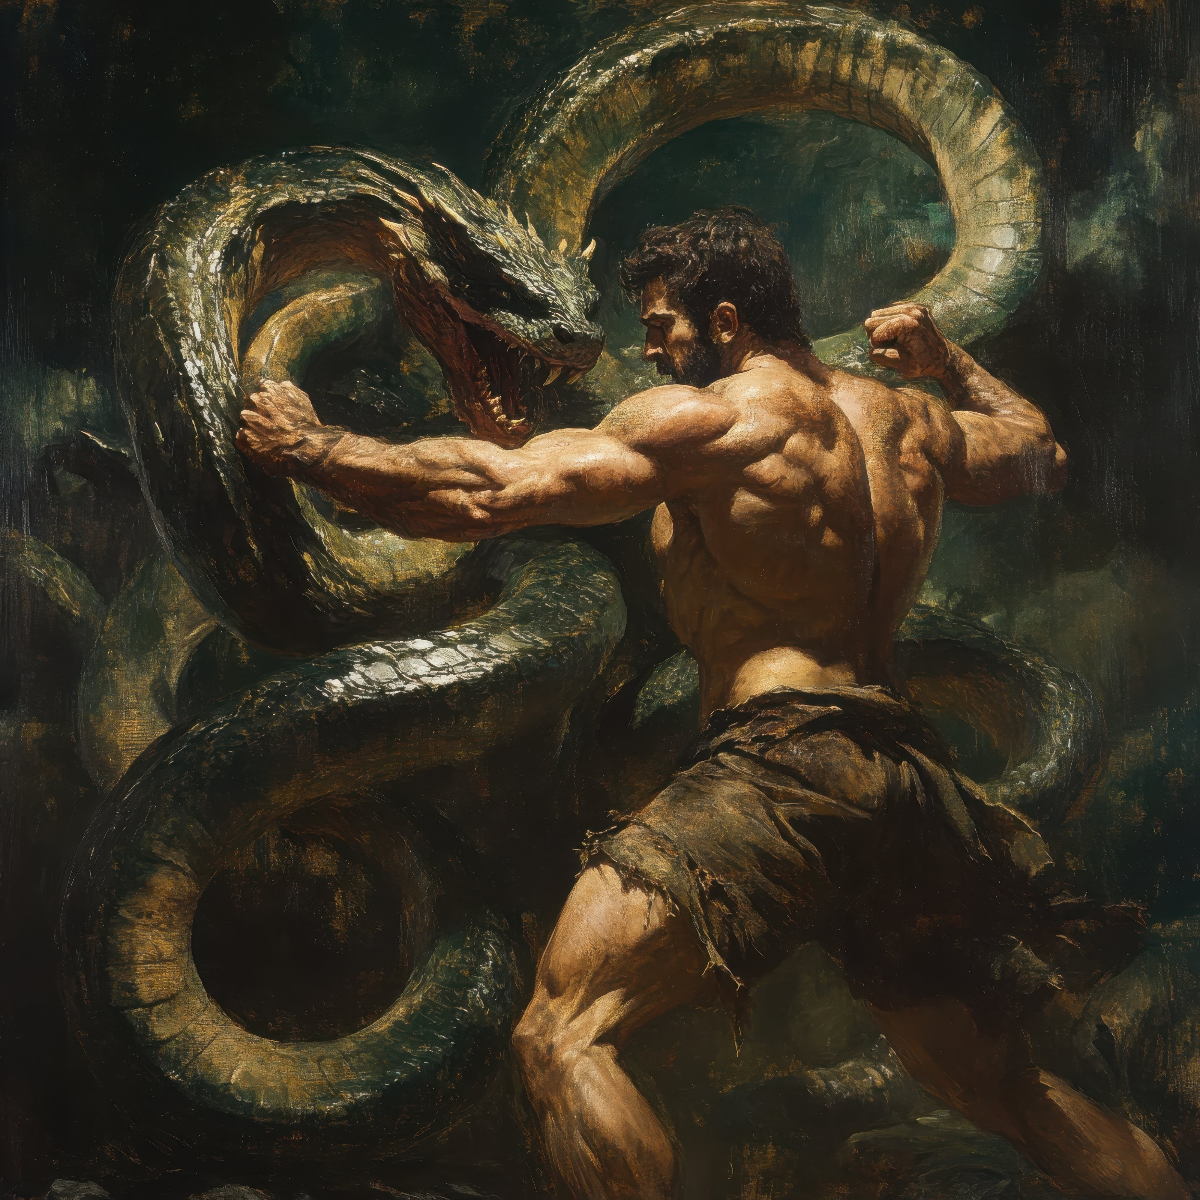
🧠 How to Use Midjourney v6 Effectively
Midjourney v6 thrives when you give it clear, precise direction. It's best for stylized works, cinematic lighting, and concept art.
Prompt Tips for v6:
- Use
--style rawto reduce default stylization and gain control. - Add detailed adjectives and camera terms for clarity (e.g., “low-angle shot, cinematic lighting”).
- Leverage aspect ratios and upscalers (e.g.,
--ar 3:2,--v 6,--upbeta).
Example Prompt for v6:
a cyberpunk samurai walking through neon-lit alley, blade glowing, mist rising from the ground --ar 16:9 --style raw --v 6
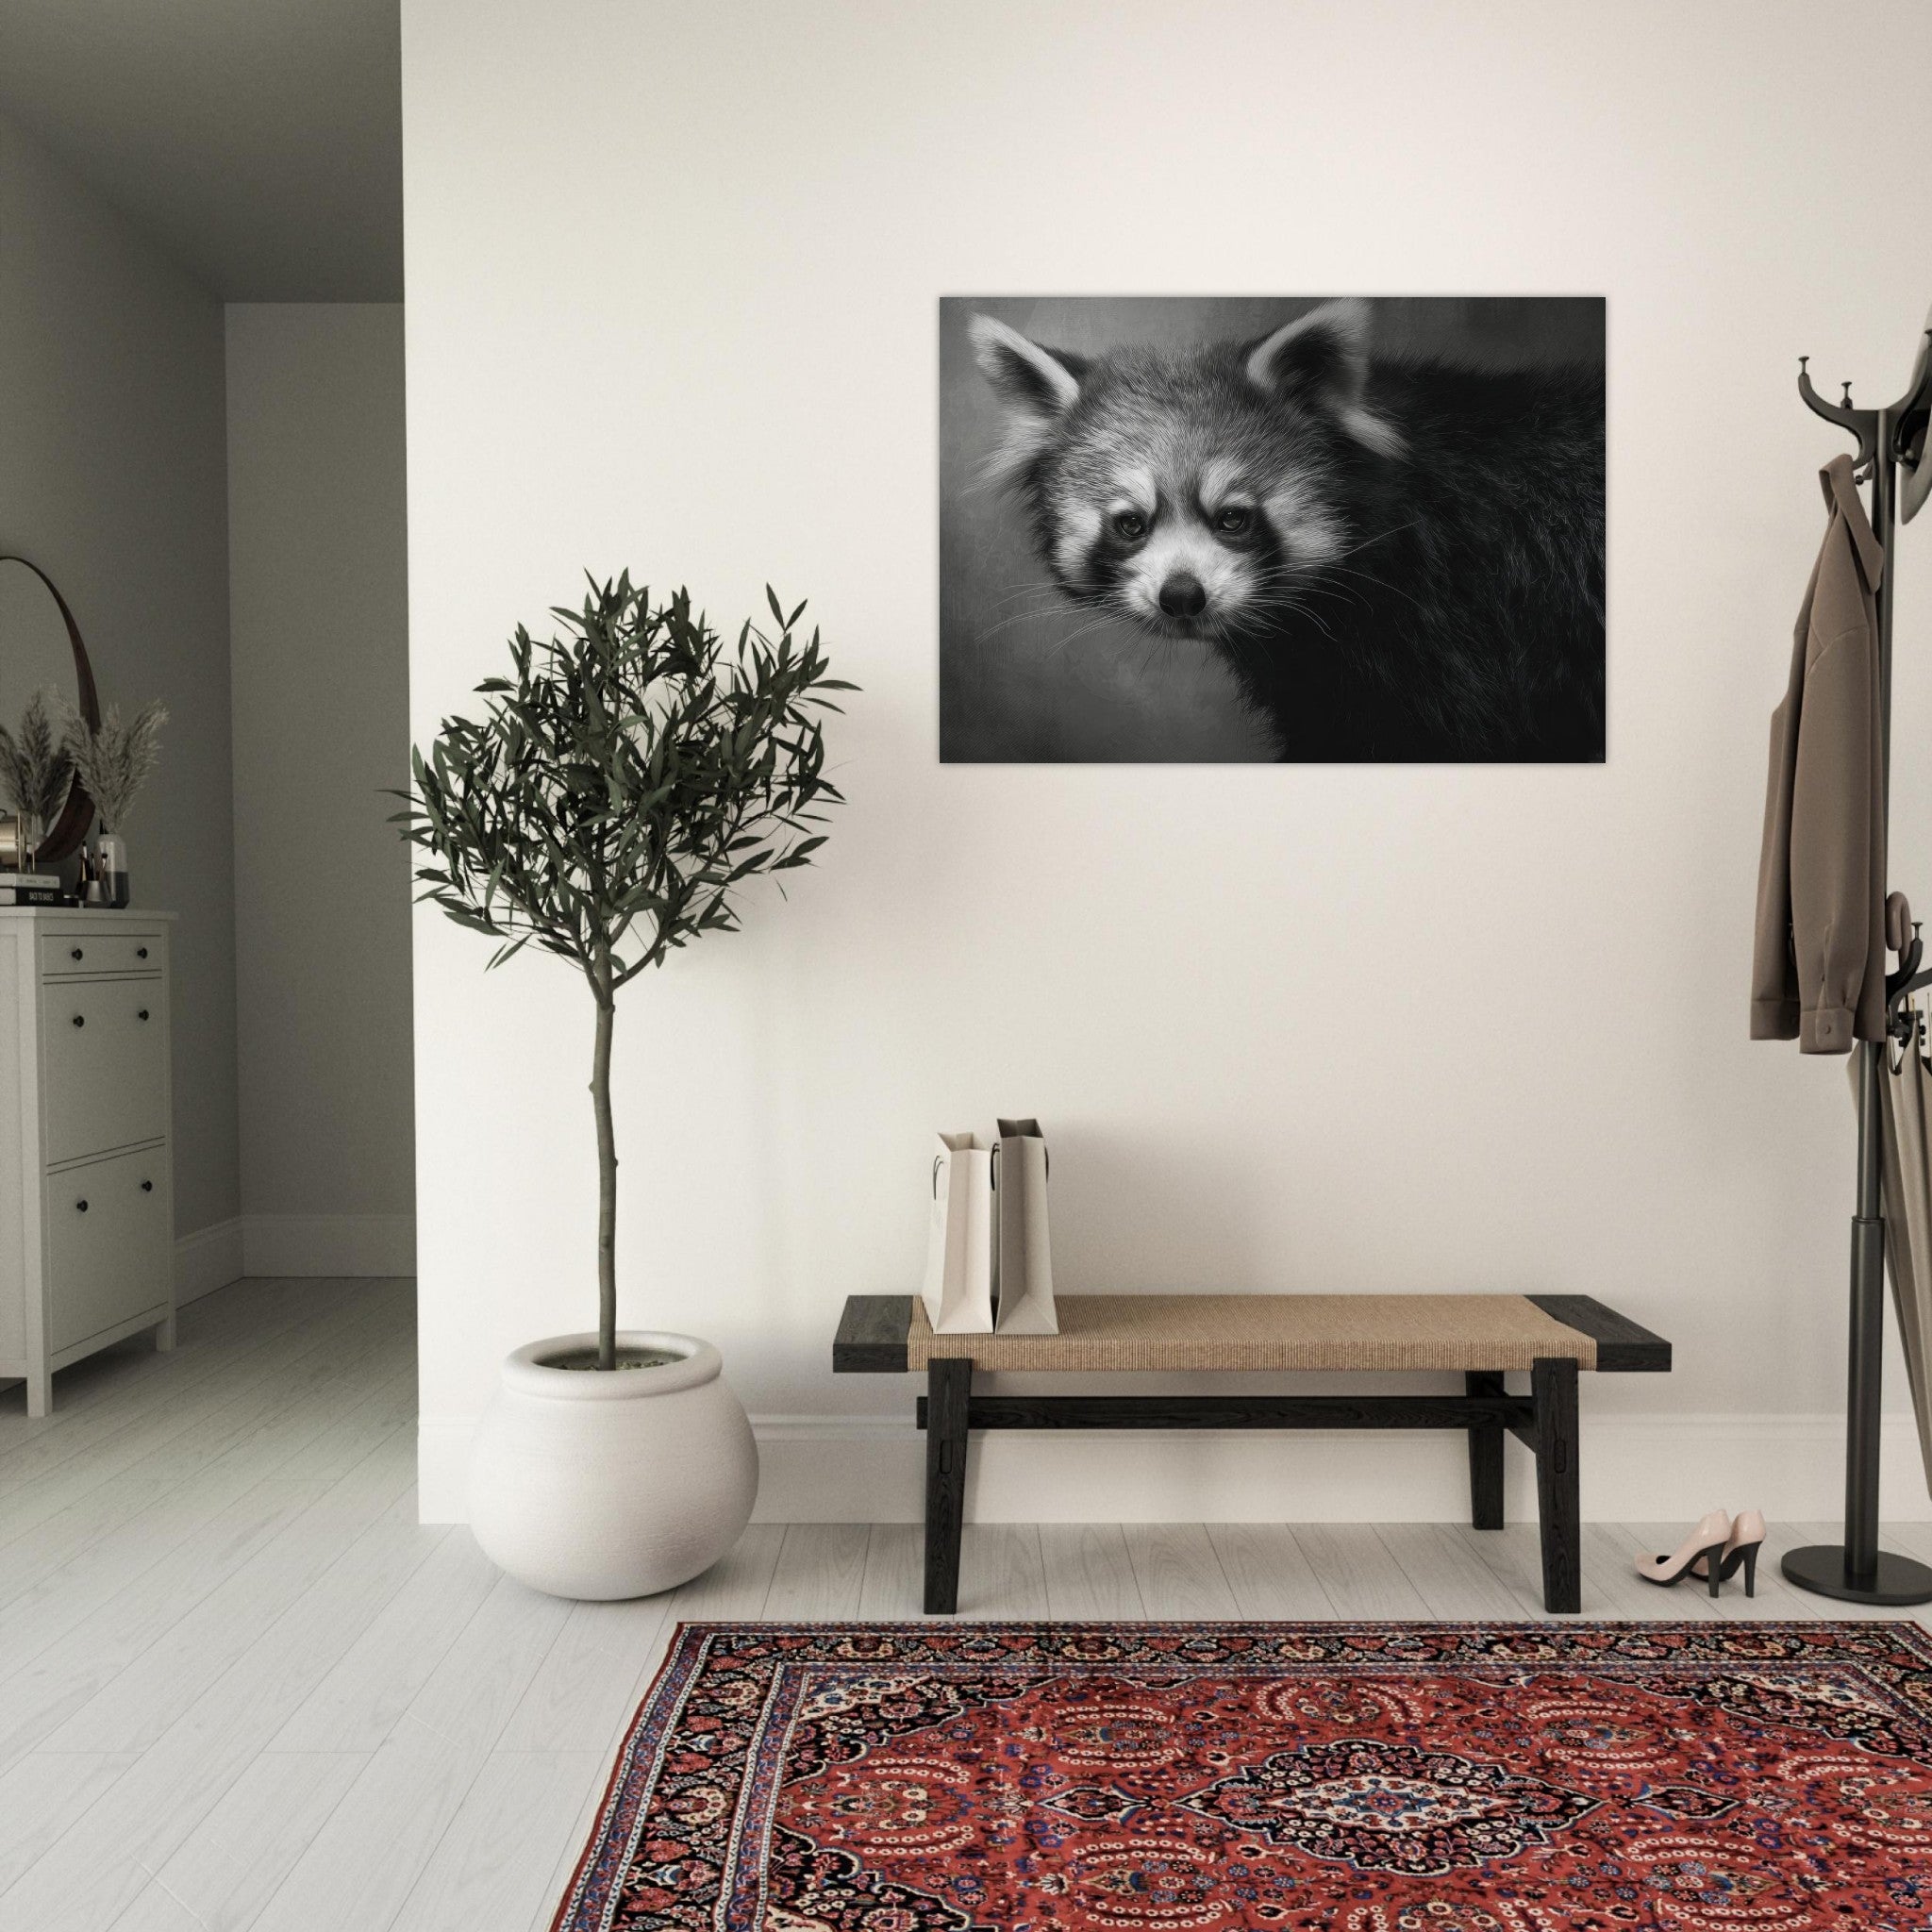
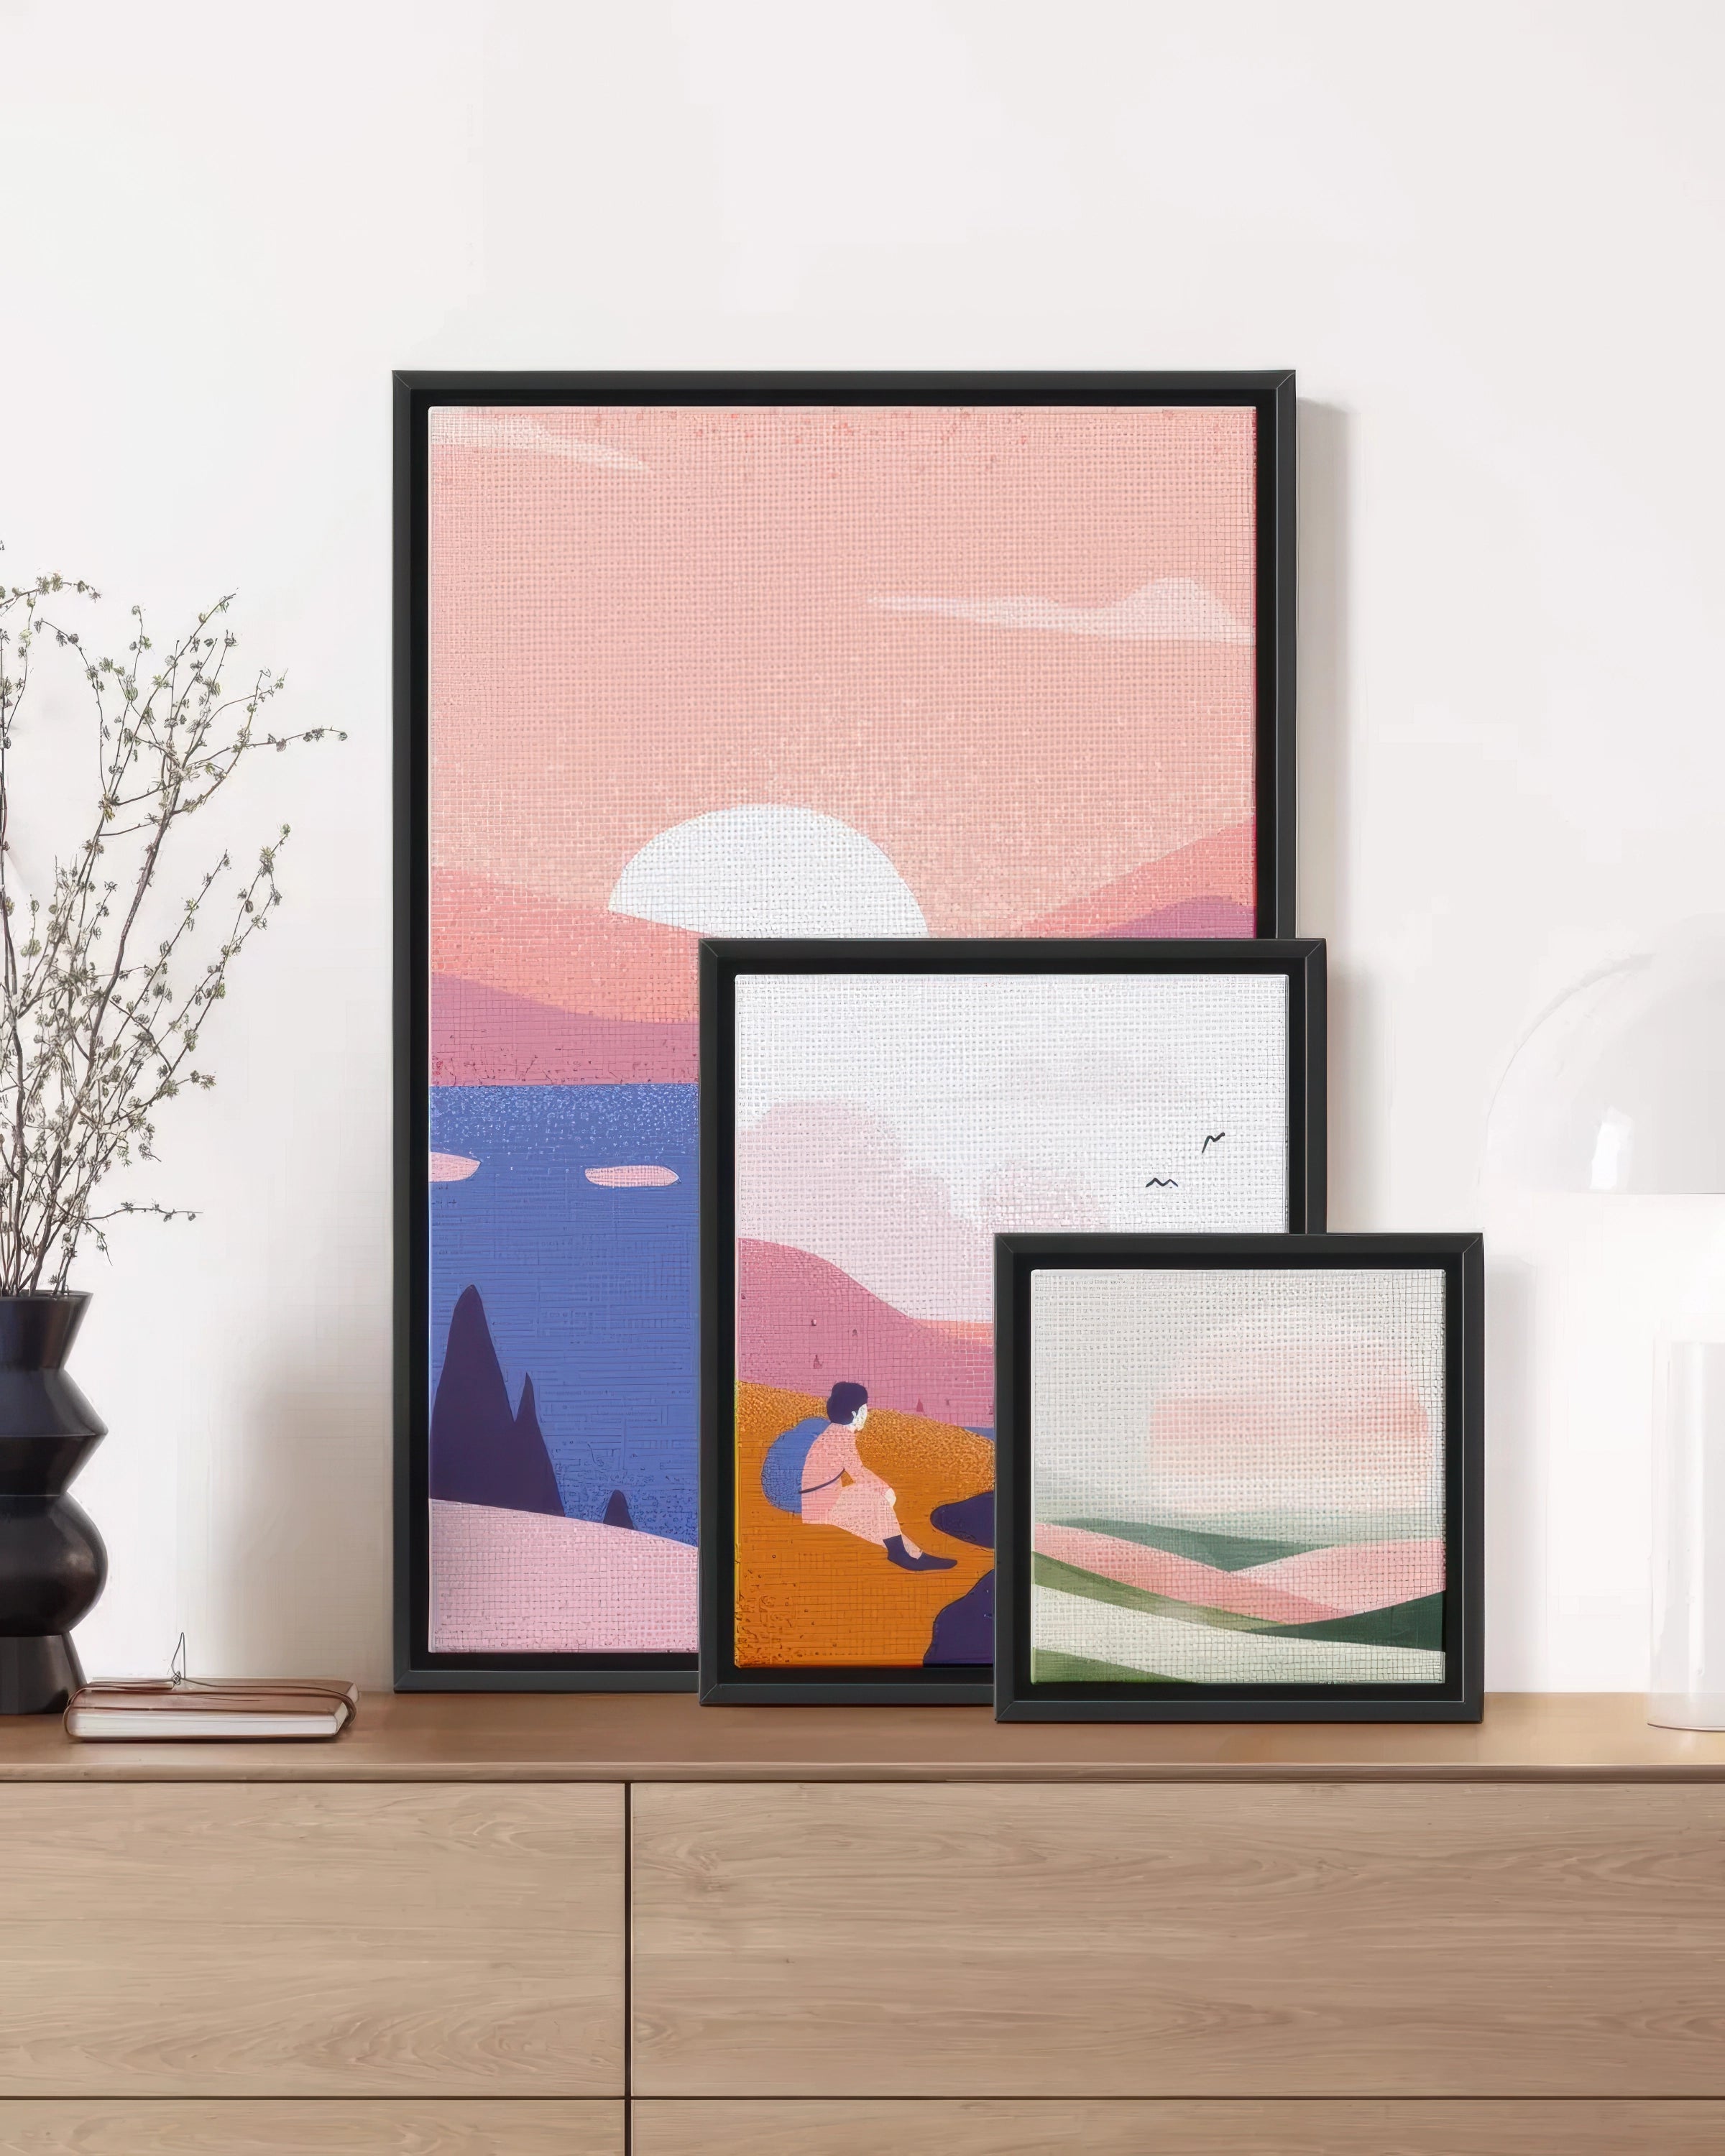
⚙️ How to Use Midjourney v7 for Realism and Emotion
Version 7 leans into naturalism, emotional nuance, and subtle variations. It works well for:
- Human subjects and portraits
- Cinematic storytelling
- Editorial-style compositions
Prompt Tips for v7:
- Write prompts like sentences or story fragments.
- Focus less on technical tags—v7 “understands” context better.
- Use fewer modifiers—over-specifying can muddle the output.
Example Prompt for v7:
a young woman staring out a rain-soaked window, soft light on her face, a quiet moment of reflection
This would naturally yield a compositionally sound, emotionally resonant image—without needing --style raw.
🖼️ Creative Use Cases for Each Version
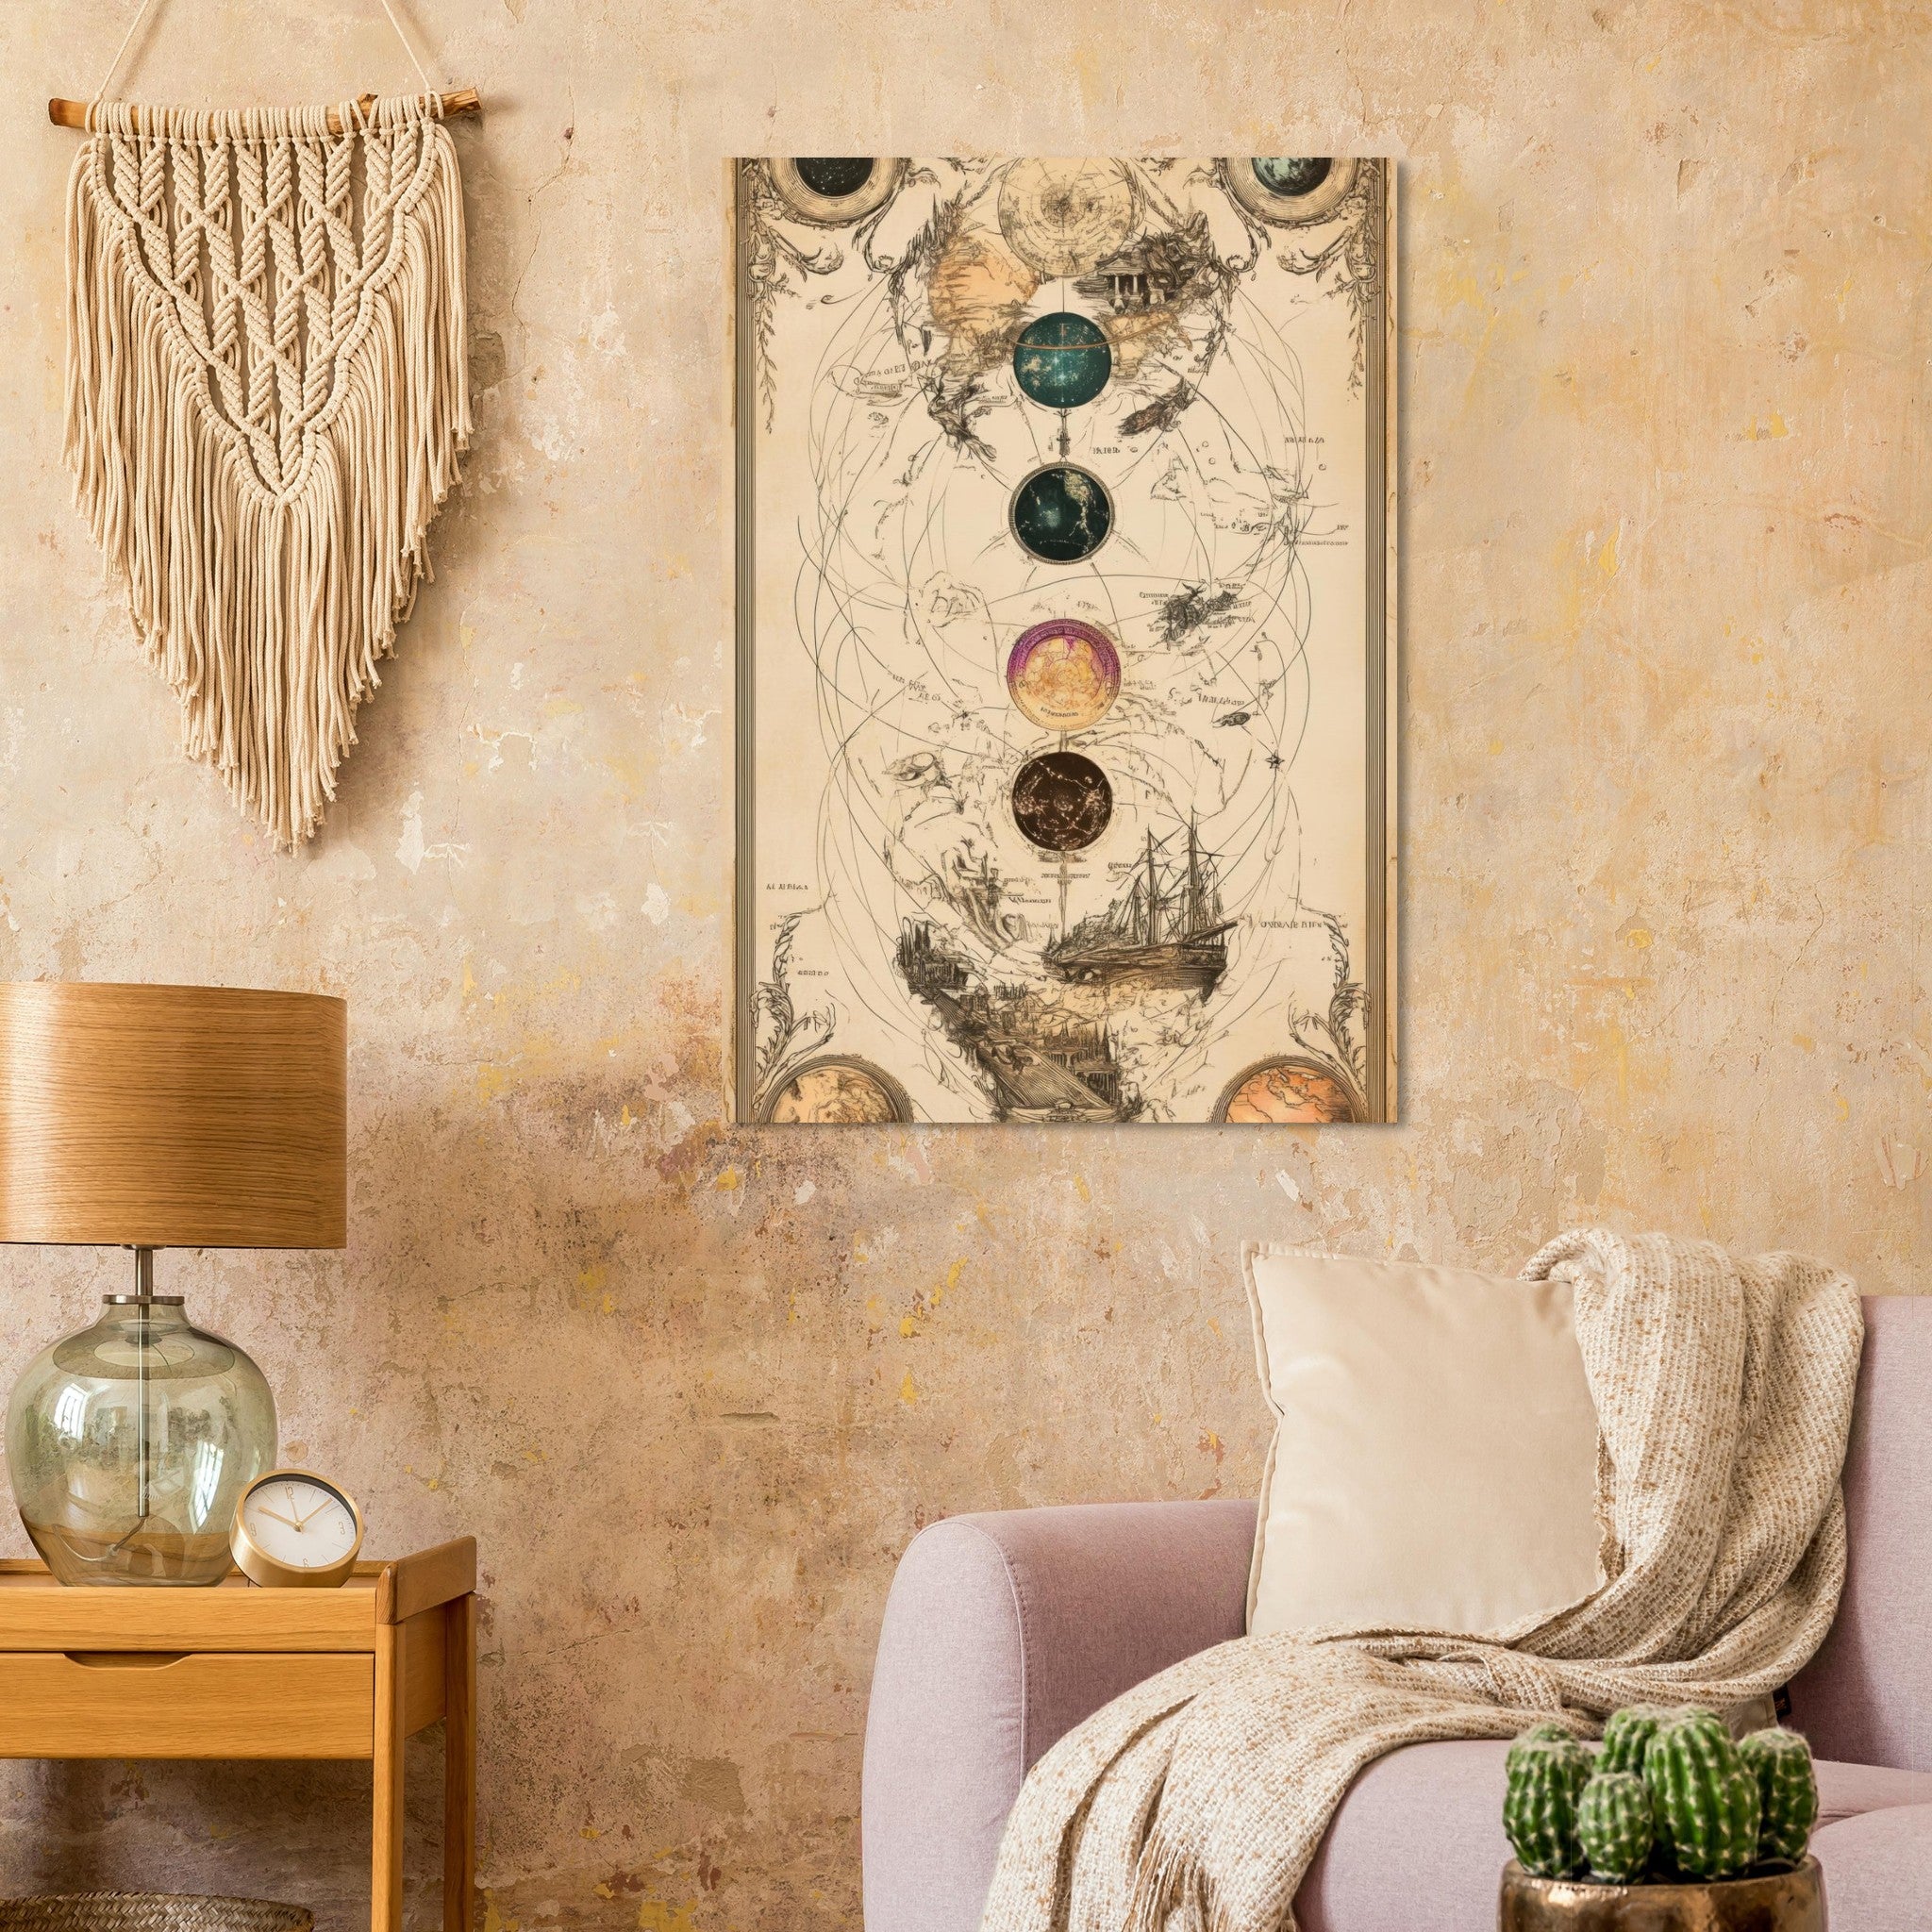
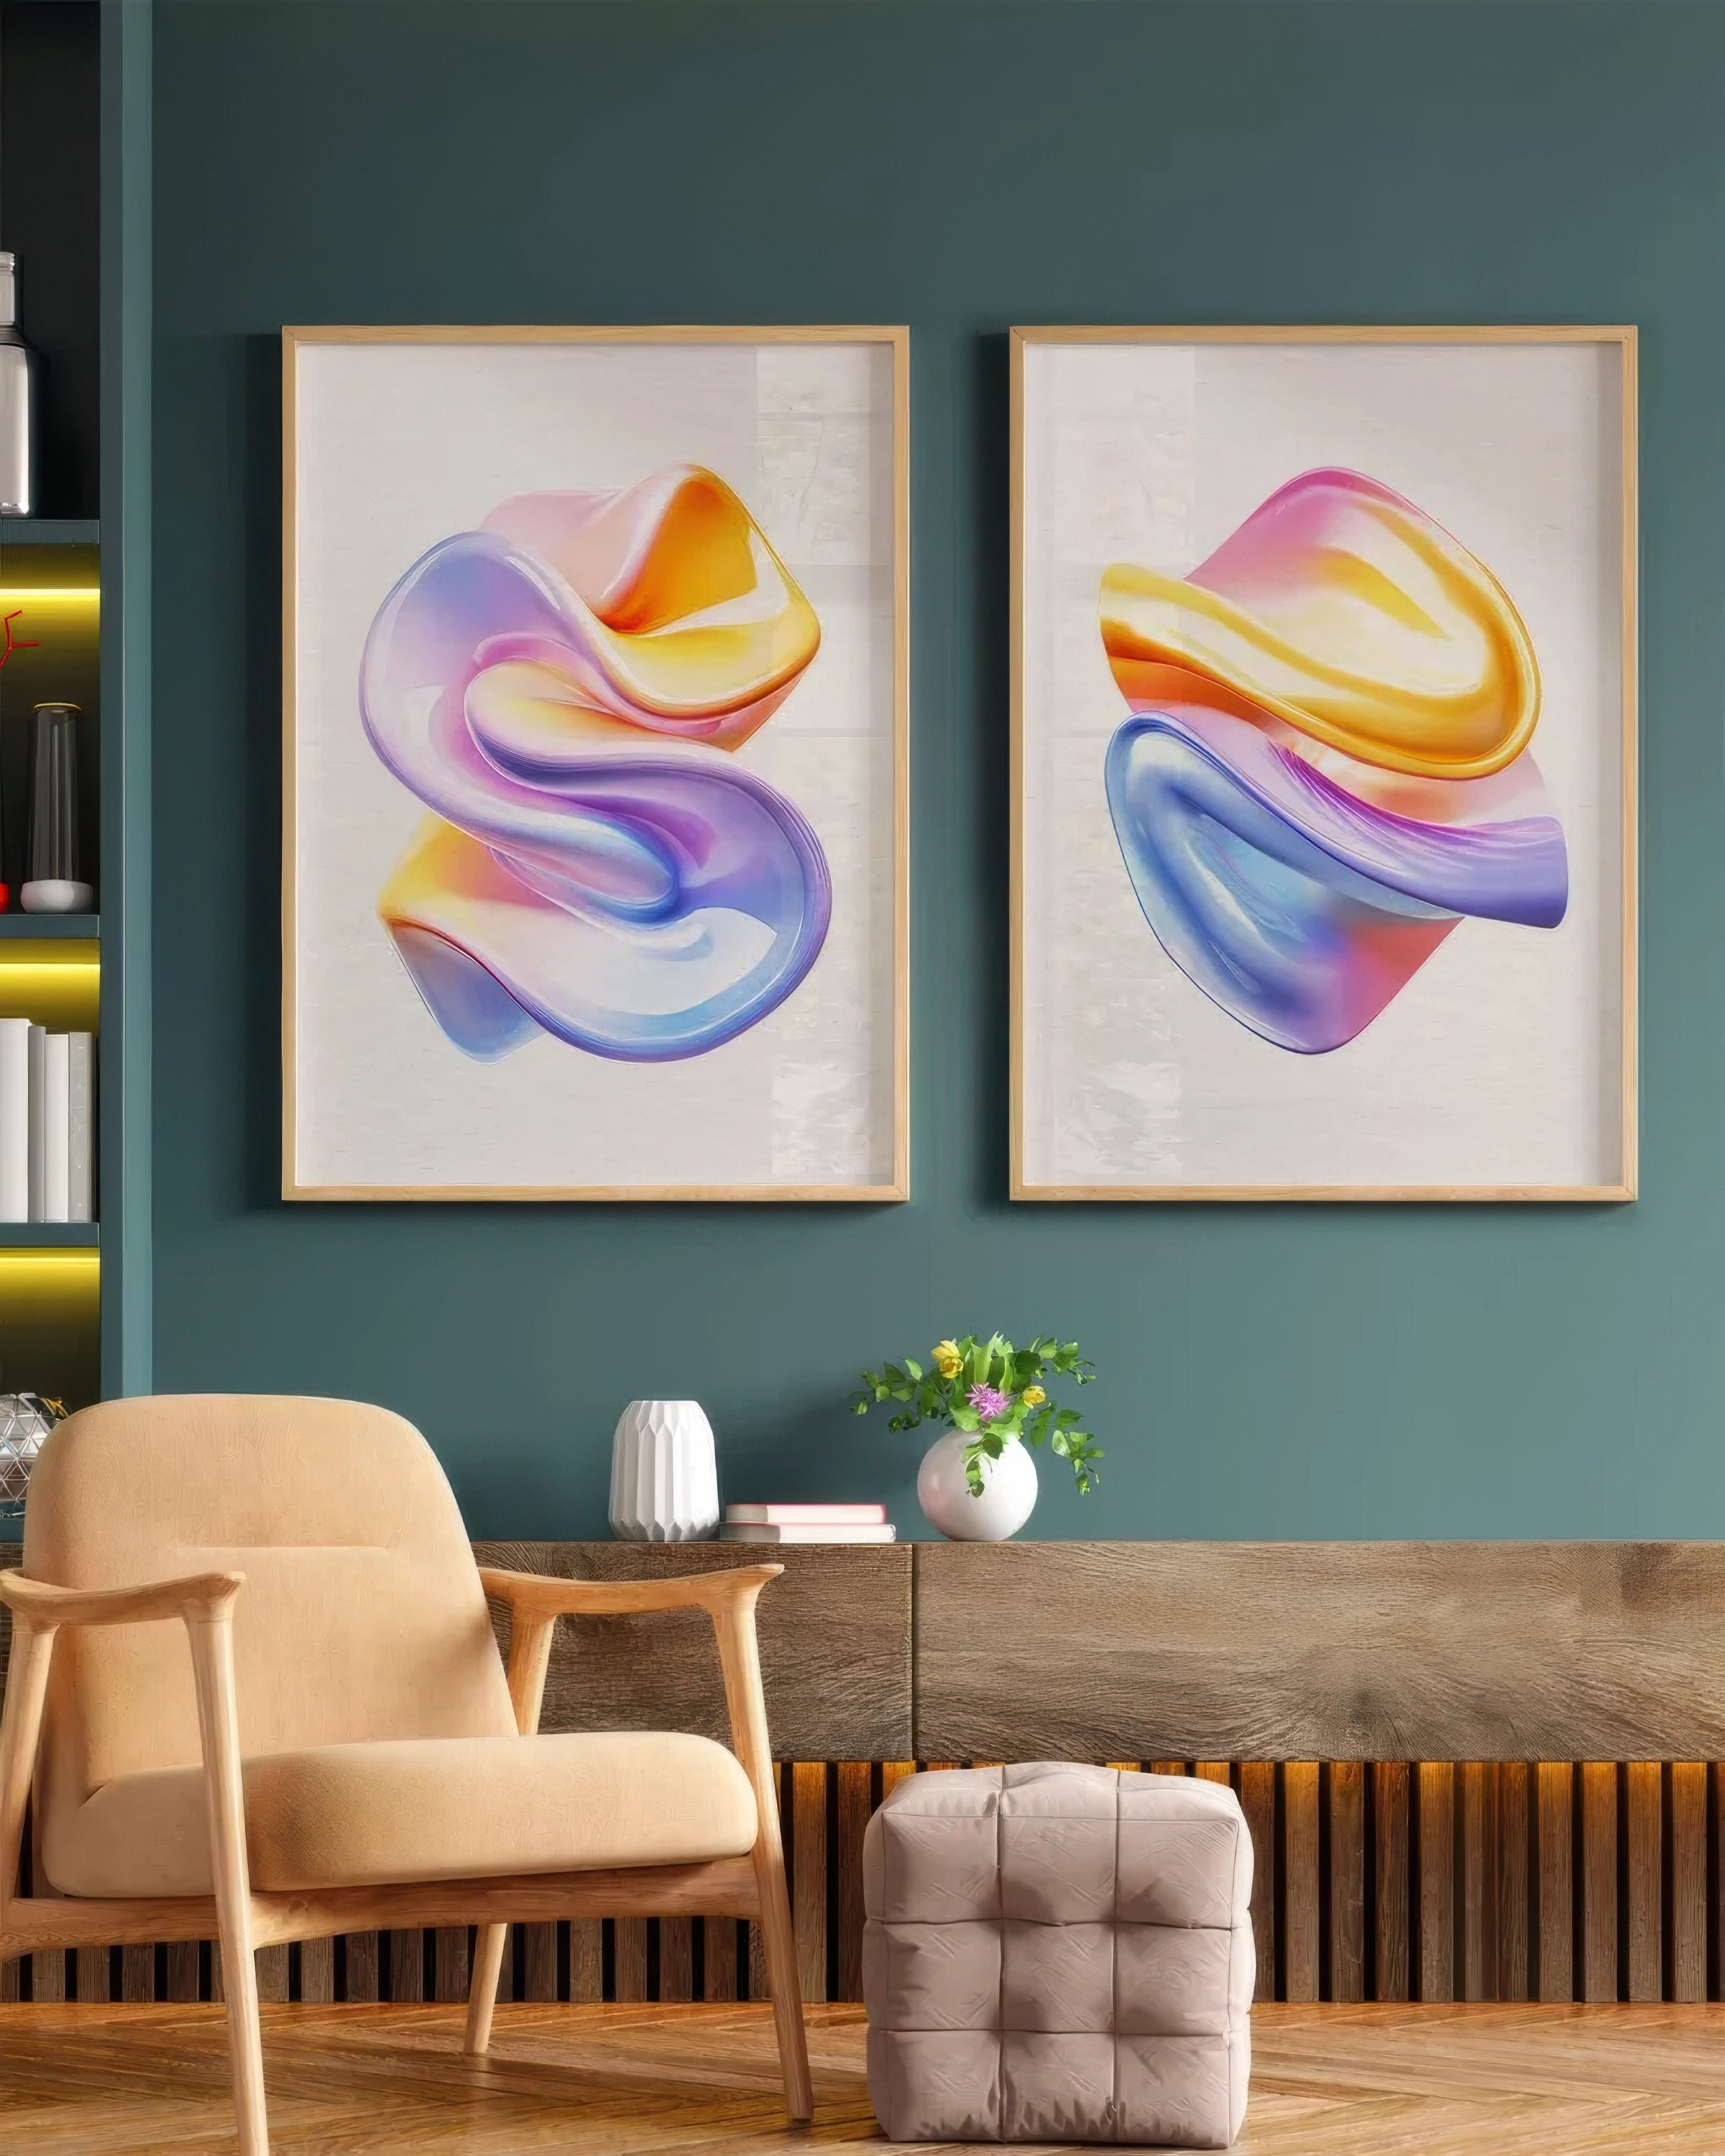
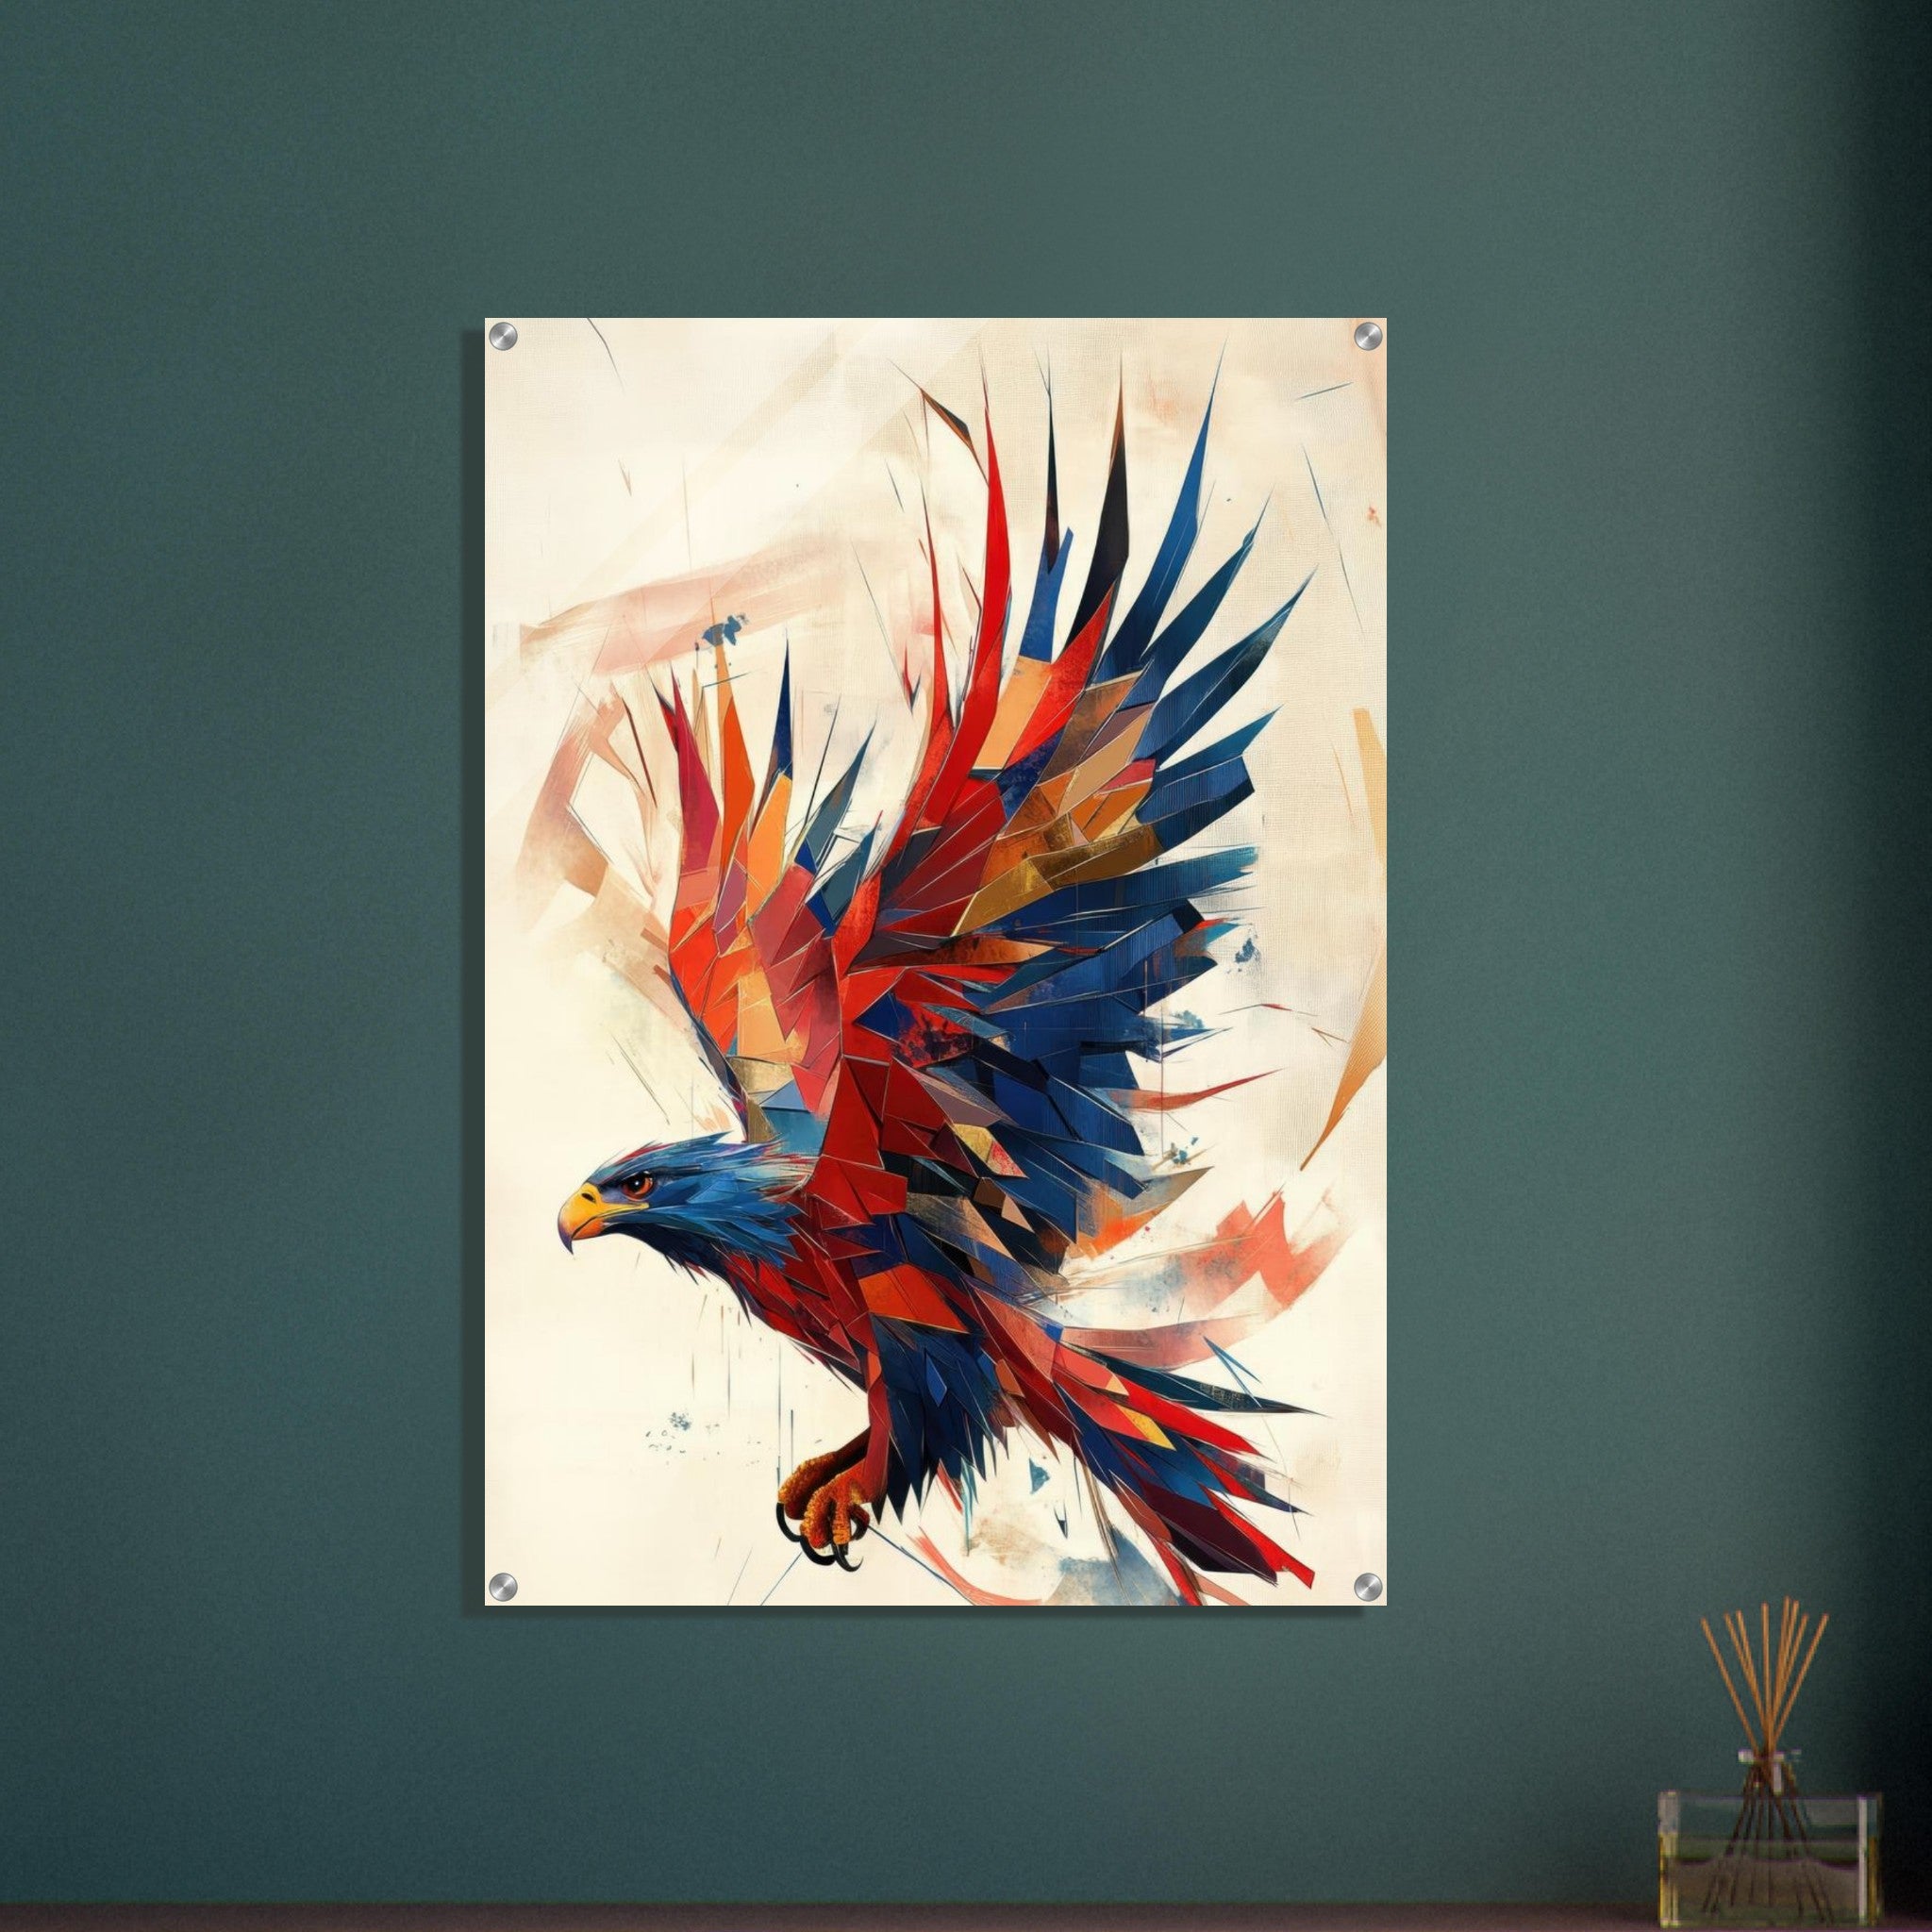
- Use v6 for illustrated book covers, game concepts, bold poster art.
- Use v7 for editorial-style pieces, realistic portraits, fine art experiments.
If you’re creating content for Instagram, v7 will often perform better due to its photogenic output. For fictional world-building, v6 offers better stylized control.
🧪 Advanced Techniques (Both Versions)
- Combine with Inpainting: Use tools like Photoshop AI fill or InvokeAI to refine faces and details.
- Test lighting terms: Try “rim lighting,” “volumetric fog,” or “subsurface scattering” for richer renders.
- Use reference images: With
/describe, reverse-engineer styles you admire and recreate them.
🧩 Final Thoughts
Midjourney v6 and v7 both offer immense creative flexibility—but they serve different visual goals. Mastering their unique strengths gives you a broader artistic vocabulary. Whether you want to create ethereal fantasy pieces or intimate portraits, understanding these versions is the key to unlocking the next level in your AI art journey.
📚 Resources

Leave a comment
This site is protected by hCaptcha and the hCaptcha Privacy Policy and Terms of Service apply.