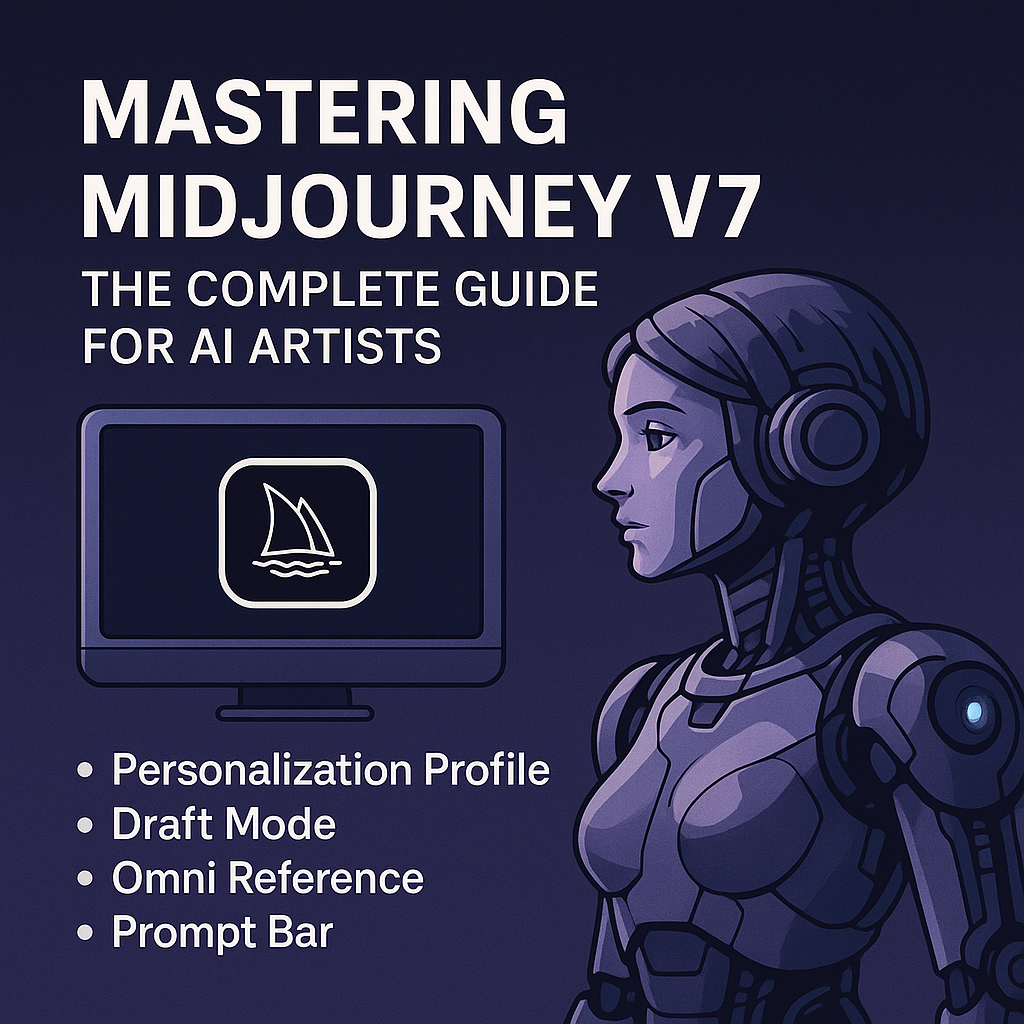
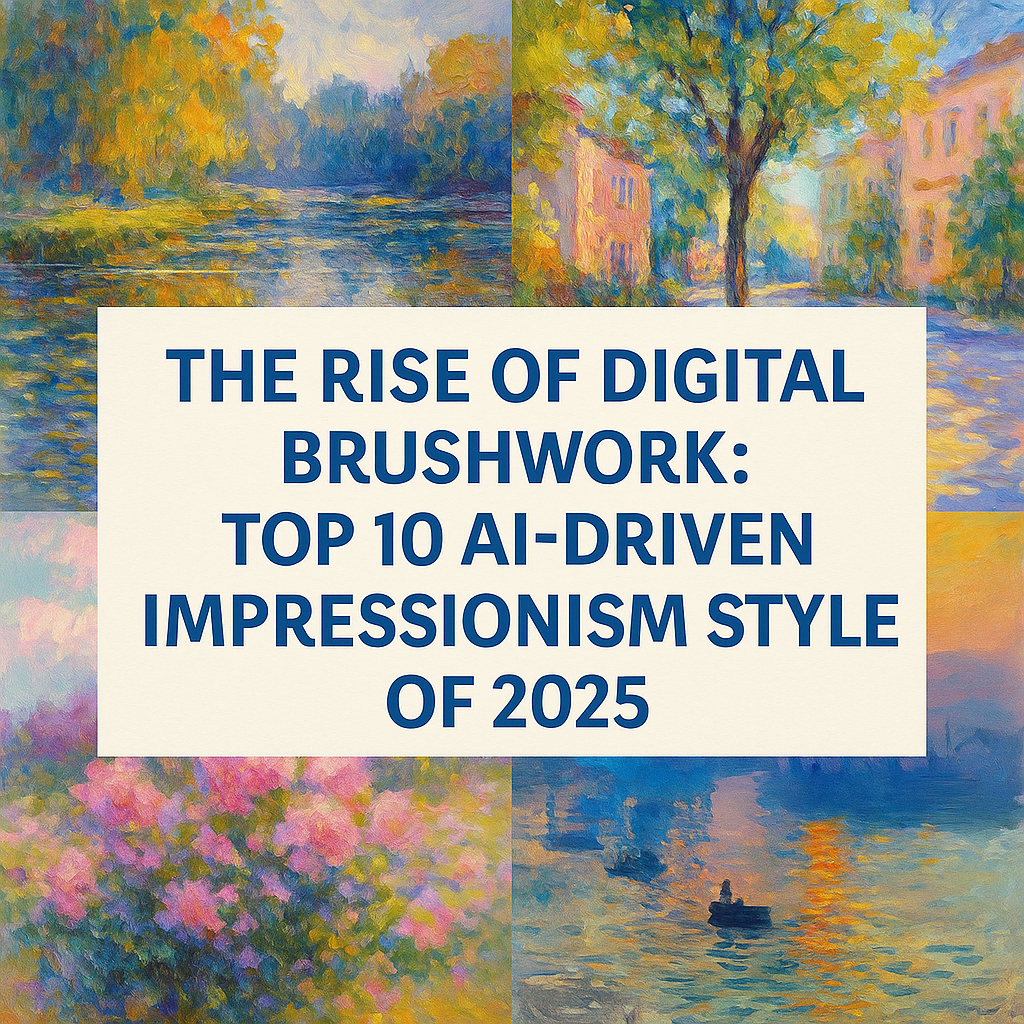
Mastering Midjourney V7: The Complete Guide for AI Artists
Midjourney V7 is a major evolution in AI image generation, offering artists more control, personalization, and creative flexibility than ever before. Whether you're a seasoned creator or just getting started, this comprehensive tutorial will walk you through everything you need to know to master Midjourney V7 and level up your visual storytelling.
🆕 What’s New in Midjourney V7?
Midjourney V7 introduces several groundbreaking features that set it apart from previous versions. These include:
-
Personalization Profile: V7 learns from your aesthetic preferences by letting you rate image pairs. This profile becomes the foundation for your own tailored AI generation experience.
-
Draft Mode: Generate images quickly and affordably for early-stage concept development.
-
Omni Reference: Use reference images more effectively to maintain stylistic or character consistency.
-
Streamlined Prompt Bar: Adjust parameters like aspect ratio, quality, and style without needing to remember command-line inputs.
-
Improved Model Architecture: V7 is sharper, faster, and better at interpreting nuanced prompt language.
Each of these features is designed to reduce friction in the creative process and increase the quality of your outputs.
🔐 Step 1: Unlock Your Personalization Profile
Before accessing V7’s most powerful features, you’ll need to activate your Global Personalization Profile:
-
Log into your Midjourney account.
-
Head to the Personalization Portal.
-
Rate approximately 200 image pairs to help the system understand your taste.
-
Once complete, you’ll gain access to Midjourney V7 under your profile.
This process trains the model to better align with your preferences for color, composition, realism, and more.
🧪 Step 2: Enable V7 and Draft Mode
Once your profile is unlocked:
-
Set the model to V7 by adding
--v 7at the end of your prompt. -
For quicker iterations, use
--draftto activate Draft Mode. This will generate a low-cost, fast-rendering version of your image that’s ideal for early ideation.
Example:
/imagine prompt: futuristic Tokyo skyline at dusk, soft neon lighting, cinematic atmosphere --v 7 --draft
🧩 Step 3: Using Omni Reference for Style and Character Consistency
Omni Reference allows you to anchor your prompts with visual consistency using one or more reference images.
To use it:
-
Upload a reference image to your Discord channel.
-
Copy the image URL.
-
Paste it at the start of your prompt.
Example:
/imagine prompt: detailed portrait in cyberpunk style :: https://cdn.midjourney.com/path-to-your-image.jpg --v 7
This helps Midjourney maintain specific visual traits like character identity, pose, or lighting across different generations.
🔄 Step 4: Iterate with Remix and Enhance
Midjourney V7 makes refining your work easier with:
-
Remix Mode: Modify prompts while retaining key aspects of the original composition.
-
Enhance: Use
--qualityto improve image detail. Higher values mean better fidelity but longer generation times.
Example with Remix:
-
Enable Remix Mode in your settings.
-
Click “Vary (Strong)” on an image.
-
Change the prompt slightly to alter context or mood while maintaining structure.
🧰 Step 5: Use the New Prompt Bar
For users who prefer a GUI experience, V7 offers an intuitive Prompt Bar:
-
Adjust aspect ratio (e.g.,
--ar 16:9) -
Change quality (e.g.,
--quality 2) -
Toggle style modes (
--style raw,--style scenic, etc.)
This makes prompt customization more user-friendly and visual.
🧠 Advanced Tip: Combine Draft + Omni for Ideation
A powerful workflow is to combine Draft Mode and Omni Reference when rapidly ideating character or product designs.
Workflow:
-
Select your character style image.
-
Enable Draft Mode.
-
Prompt multiple scenarios quickly.
-
Choose favorites and rerun in full quality (
--quality 2).
📚 Resources
Leave a comment
This site is protected by hCaptcha and the hCaptcha Privacy Policy and Terms of Service apply.