


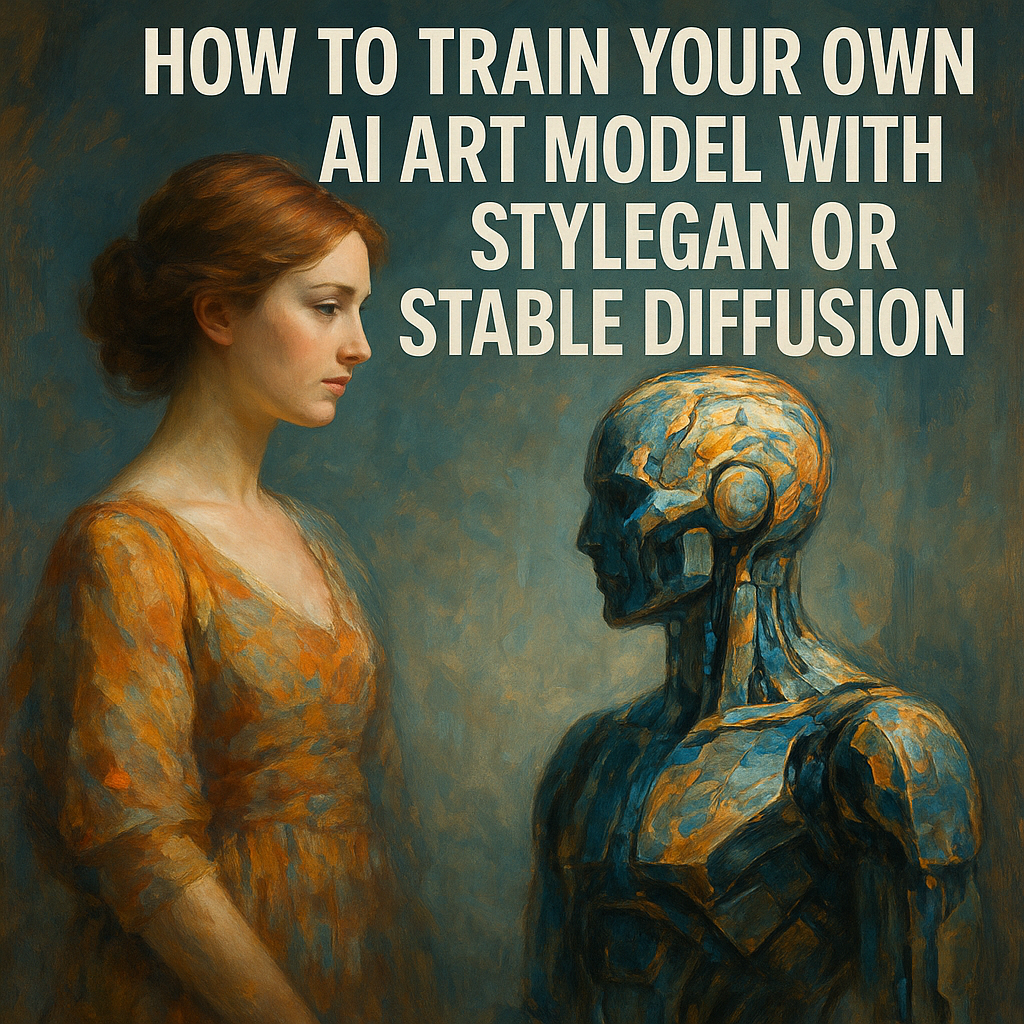
How to Train Your Own AI Art Model with StyleGAN or Stable Diffusion
Tags: AI art, StyleGAN, Stable Diffusion, model training, GANs, fine-tuning, DreamBooth, LoRA
Training a custom AI art model unlocks a new level of creative control, allowing you to generate artwork that reflects your unique aesthetic. Whether you're a seasoned digital artist or a curious beginner, this guide will walk you through how to train your own model using either StyleGAN or Stable Diffusion.
🎯 Why Train Your Own Model?
Pre-trained models are powerful, but they come with limitations. Training your own model allows you to:
-
Achieve stylistic consistency across a body of work
-
Reflect niche aesthetics or personal artistic styles
-
Gain deeper understanding of AI art mechanisms
🧰 Tools & Requirements
Before diving in, gather the necessary tools:
-
Hardware: A GPU with at least 12GB VRAM (e.g., NVIDIA RTX 3080 or higher)
-
Software: Python, PyTorch, CUDA drivers
-
Data: A curated dataset of at least 500 high-resolution images
-
Platform (optional): Google Colab Pro or AWS EC2 for cloud-based training
🌀 Option 1: Training with StyleGAN
Step 1: Prepare Your Dataset
Organize your images into a folder, ensuring consistency in aspect ratio and resolution. Use tools like resize.py scripts or Photoshop batch actions.
Step 2: Convert Dataset
Use the dataset_tool.py script from the StyleGAN3 GitHub repo to convert your image folder into a .tfrecords format.
Step 3: Configure Training Parameters
Modify the training_loop.py or use pre-defined configs to set your resolution, learning rate, and dataset path.
Step 4: Launch Training
Run the training script and monitor progress using TensorBoard. Training can take several days depending on dataset size and GPU power.
🌊 Option 2: Training with Stable Diffusion (Fine-Tuning)
Step 1: Set Up Environment
Clone the Diffusers GitHub repo, install requirements, and set up your environment.
Step 2: Prepare Dataset
Name images with clear labels and include metadata if possible. Stable Diffusion training often uses text-image pairs.
Step 3: Fine-Tuning with DreamBooth or LoRA
Use fine-tuning scripts like train_dreambooth.py or train_lora.py. These allow for lighter training over fewer epochs and require less data (~100-200 images).
Step 4: Save and Deploy Model
Once training completes, save your model and test generations. You can deploy locally or upload to platforms like Hugging Face Spaces.
🧪 Tips for Better Results
-
Use high-quality, diverse images
-
Maintain consistent lighting and framing in your dataset
-
Start with fewer epochs to avoid overfitting
-
Monitor outputs regularly and tweak parameters
🚀 What Next?
Once you have a trained model, use it to create series, collaborate with other artists, or integrate it into interactive applications.
📚 Resources


Leave a comment
This site is protected by hCaptcha and the hCaptcha Privacy Policy and Terms of Service apply.